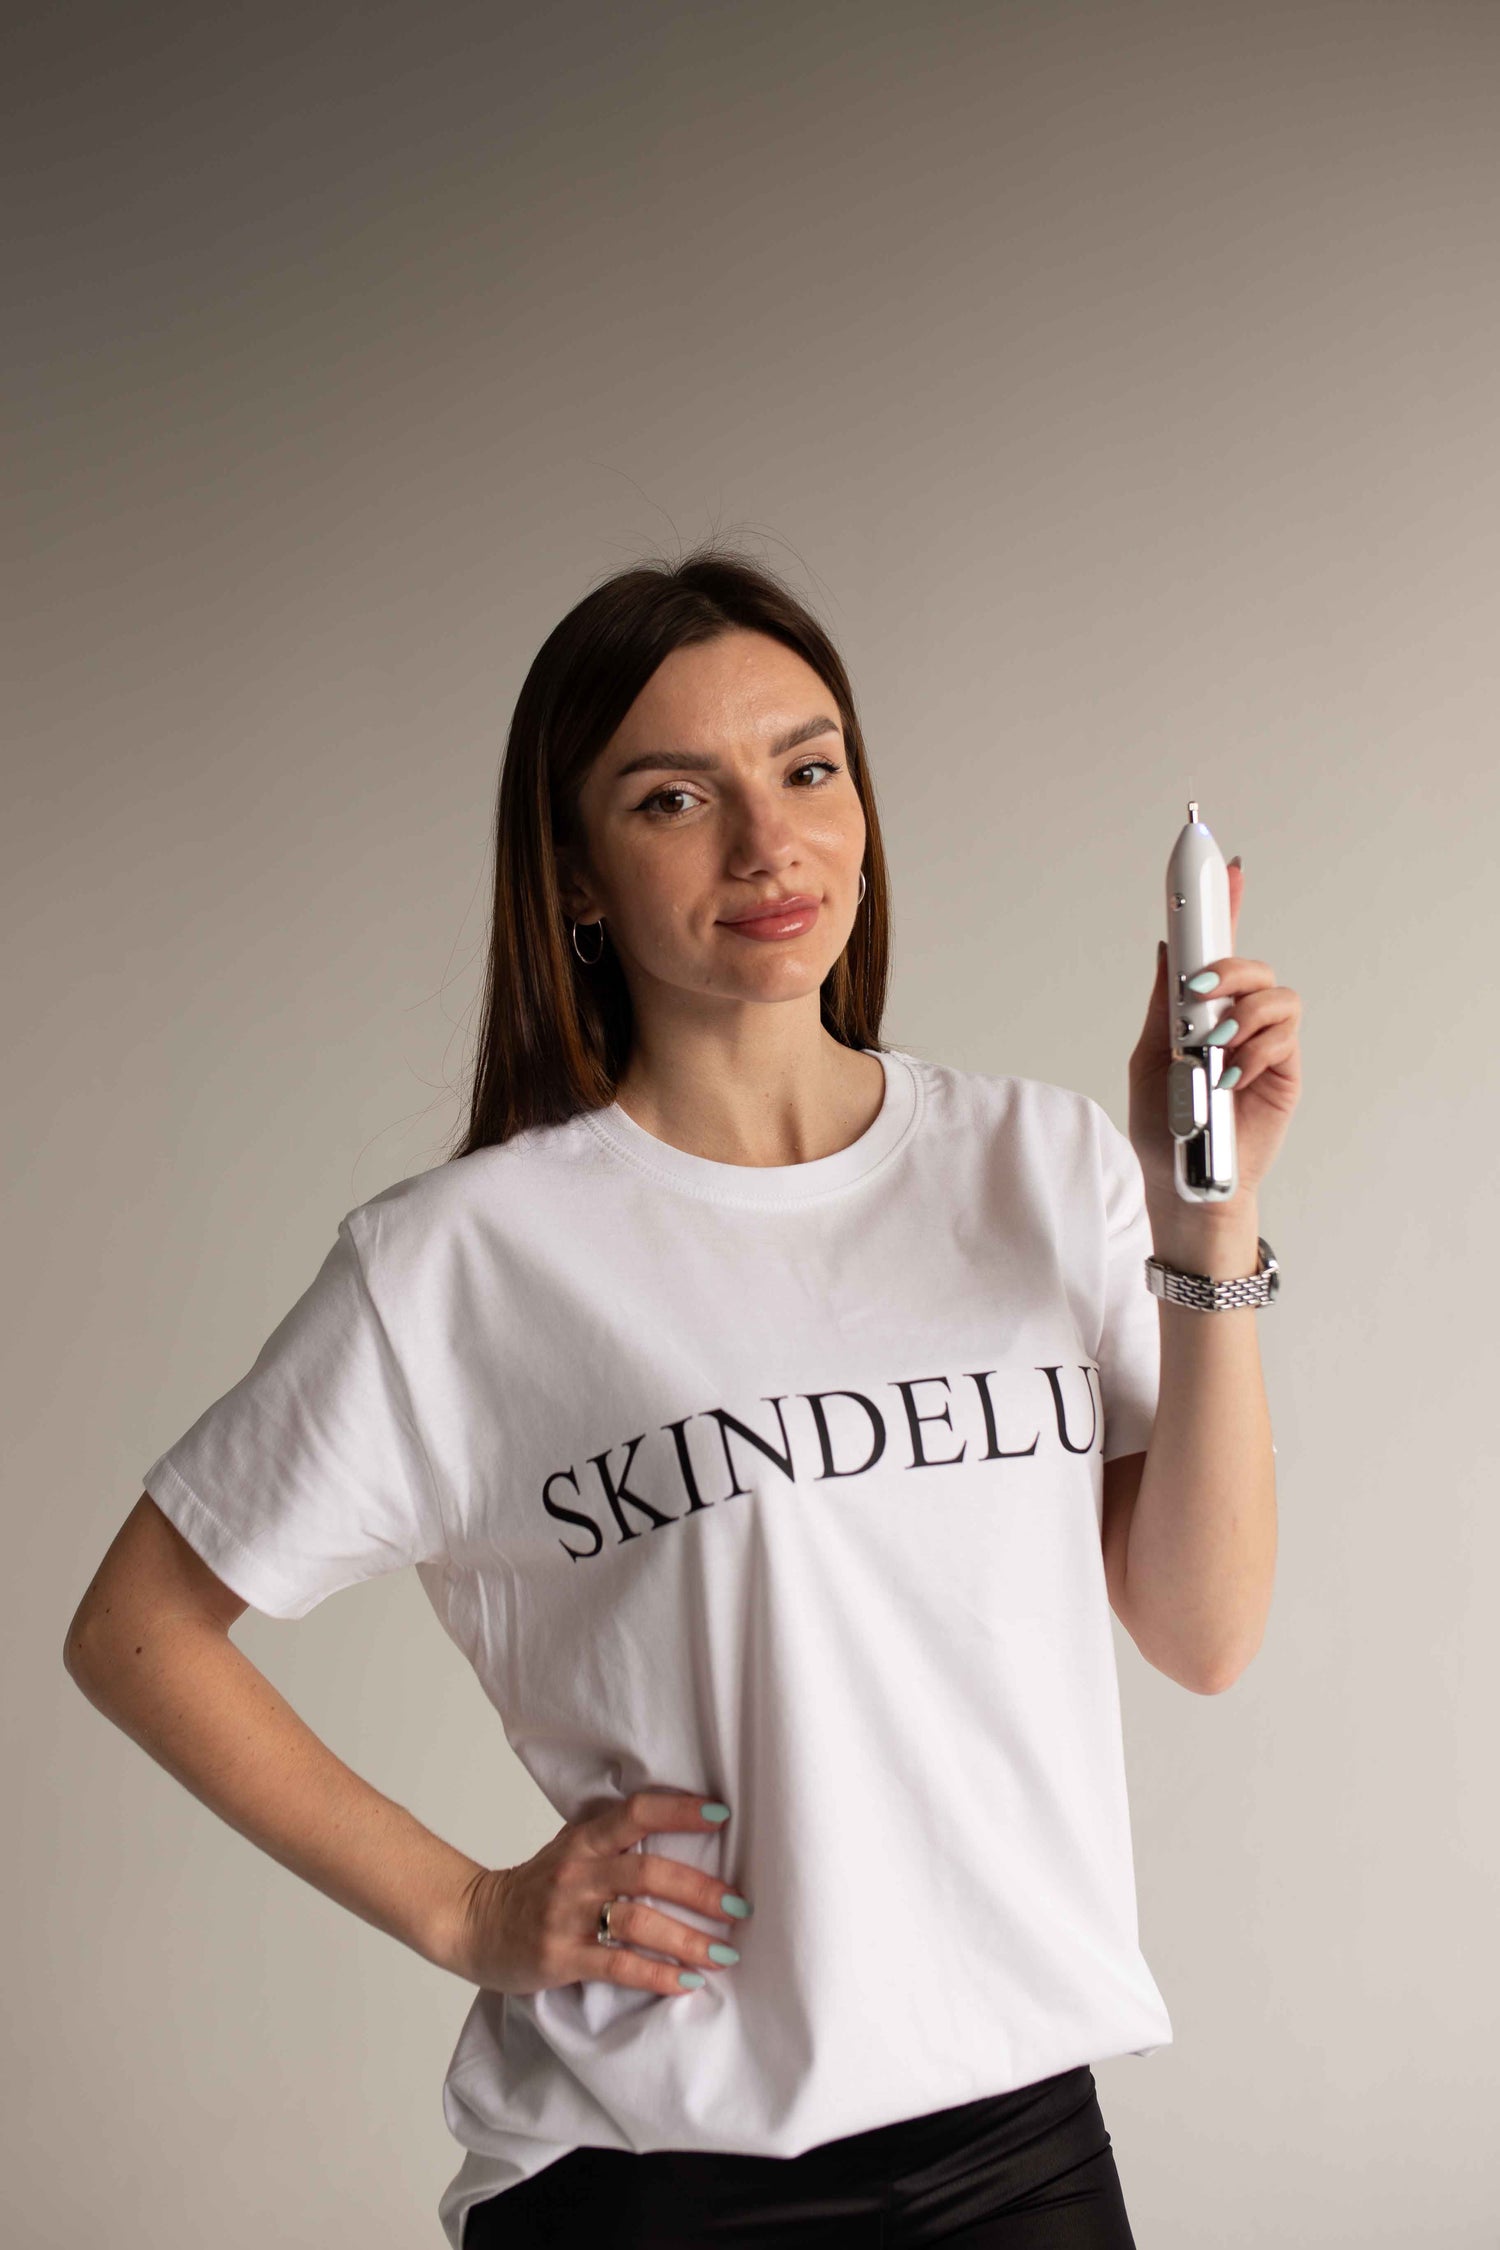
🧴 Microneedling at Home: A Beginner’s Guide to Safe & Effective Results
Are you looking for smoother skin, reduced acne scars, or a more radiant glow — all without leaving your home? Microneedling at home is one of the most effective ways to naturally stimulate collagen and improve skin texture.
In this complete guide, we’ll explain how to safely do microneedling yourself, what tools to use, and how to care for your skin post-treatment. Whether you're new to derma rolling or already exploring microneedling pens, this is the only beginner’s guide you need.
🧠 What Is Microneedling and Why Is It Trending?
Microneedling is a skincare technique that uses tiny sterile needles to create micro-injuries in the skin. This stimulates collagen and elastin — the building blocks of youthful skin.
🌟 Key Benefits of Microneedling:
-
Smoothes fine lines & wrinkles
-
Reduces acne scars and hyperpigmentation
-
Boosts product absorption
-
Firms and plumps skin naturally
💡 Did you know? Microneedling is also called collagen induction therapy.
🚫 Who Should Avoid Microneedling at Home?
Always check your skin’s condition before using any microneedling device. Avoid treatment if you:
-
Are pregnant or breastfeeding
-
Have active acne, inflammation, or eczema/psoriasis
-
Recently had peels or laser treatments
-
Take blood thinners or have a history of keloids
🧰 What You Need Before You Start
✔️ Microneedling Kit Essentials:
-
Microneedling pen or roller with sterile cartridge
-
70%+ Isopropyl alcohol (for disinfection)
-
Hyaluronic acid serum (fragrance-free)
-
Gloves, mirror, headband
-
Optional: 30% lidocaine numbing cream
📦 Shop our microneedling kits and skincare serums for optimal results.
💆♀️ How to Microneedle at Home – Step-by-Step
-
Cleanse skin thoroughly (double cleanse recommended).
-
Disinfect device and cartridge.
-
Apply hyaluronic acid serum.
-
Divide face into small zones: forehead, cheeks, nose, chin.
-
Use device with gentle vertical, horizontal, and diagonal motions.
-
Two passes max per area.
-
Reapply serum before moving to next zone.
🎥 Want to see the full routine? Stay tuned for our upcoming tutorial video!
🩹 Microneedling Aftercare: What to Do (and Avoid)
First 4–6 hours:
-
Apply only hyaluronic acid
-
No makeup, SPF, or face wash
Next 48 hours:
-
No sweating, sun, saunas, or harsh skincare
-
Use soothing moisturizer or 1% hydrocortisone
Days 3–7:
-
Reintroduce gentle actives
-
Avoid retinol until redness is gone
🧴 Recommended Products:
-
The Ordinary HA 2% + B5
-
CeraVe Moisturizing Lotion
-
Paula’s Choice Calm Repairing Serum
📆 How Often Should You Microneedle at Home?
| Needle Depth | Recommended Frequency |
|---|---|
| 0.25–0.5 mm | 1–2× per week |
| 0.5–1.0 mm | Every 3–4 weeks |
| 1.5 mm+ | Monthly (under guidance) |
🛒 Best At-Home Microneedling Products [2025 Edition]
Explore our curated collection of:
-
Microneedling pens & rollers
-
Hydrating serums & aftercare kits
-
Dermaroller-safe skincare
🙋♀️ Frequently Asked Questions (FAQs)
Is microneedling painful?
Mild discomfort is normal. A numbing cream helps.
Can I do this if I have sensitive skin?
Yes, with short needles (≤0.5mm) and extra care.
How soon will I see results?
Skin will glow within days; full collagen renewal takes 4–6 weeks.
✅ Final Thoughts
Microneedling at home is safe, effective, and empowering — if done right. With a proper routine and quality skincare, you can achieve visible results and long-term skin health.
🔗 Want to get started? Visit our Microneedling Collection and enjoy a free digital guide with every kit.


